Gutter guards are a crucial component in maintaining your home’s drainage system, preventing debris from clogging your gutters. Installing them yourself can save money and ensure peace of mind if done correctly. This article explores popular inquiries regarding DIY gutter guard installations.
1. What Tools Are Needed for a DIY Gutter Guard Installation?
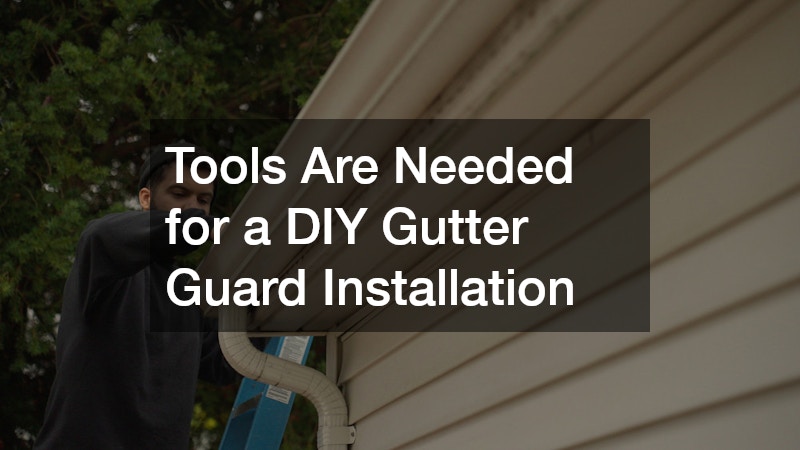
Starting a DIY project requires the right set of tools to ensure effectiveness and safety. For gutter guard installations, you’ll need a few essential items starting with a sturdy ladder to reach your gutters comfortably and securely.
A measuring tape is critical for ensuring that your gutter guards are cut to the correct lengths necessary for your project. Tin snips or a hacksaw can efficiently cut metal gutter guards to size, and for plastic or foam guards, a sharp utility knife will suffice. Lastly, having a pair of work gloves is essential to protect your hands from cuts and abrasions while cutting and fitting gutter guard materials.
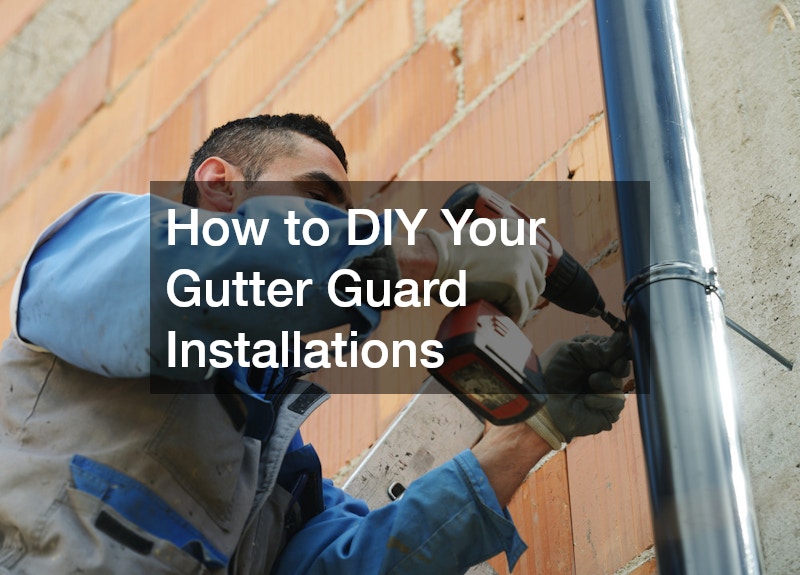
Alongside these basic tools, a power drill can be invaluable if your gutter guard type requires screws for secure attachment. Gutter guards often come in various styles; mesh, screens, and reverse curve being a few examples, and their installation requirements can vary. Some may come with self-tapping screws to provide additional strength against heavy winds or impacts. Moreover, keeping a push broom or leaf blower on hand can help clean out any debris remaining in your gutters before proceeding with installation. This practice ensures that guards fit snugly and serve their purpose effectively from the onset.
It’s also useful to have a level to ensure that your gutter guards are installed flat and that water flows correctly into your downspouts without obstruction. If working with screws, a magnetic tool belt can keep bits and attachments easily accessible, preventing unnecessary trips up and down your ladder. Additionally, for those with steeply pitched roofs, consider using roof harness kits for added safety. These investments in the right tools not only smooth the installation process but also contribute significantly to the overall efficiency and longevity of your gutter guard system.
2. How to Choose the Right Type of Gutter Guard?
Choosing the right type of gutter guard depends on several factors like your budget, climate, and the kind of debris commonly encountered. Mesh gutter guards are popular for their fine screens that prevent even small debris, like pine needles, from entering your gutters, making them ideal for heavily wooded areas. On the other hand, foam guards, which fit snugly inside the gutter, are cost-effective and very easy to install. They are excellent for owners looking for a quick solution and can handle significant water flow during heavy rains. However, foam guards may require frequent maintenance as they can collect dirt and fosters mold growth over time.
Going for reverse curve or surface tension guards is beneficial if you’re dealing with heavier debris such as leaves and branches. These are designed to ensure debris simply slides off the roof while letting rainwater flow into the gutter. Though slightly more expensive and requiring professional installation, they offer a long-term solution with less maintenance. Your house architecture and roof type can greatly influence what guard works best. Consider employing a hybrid approach by combining mesh with reverse curve guards for problematic sections of your gutter basin, ensuring comprehensive protection.
Budget considerations play a key role in your selection, requiring a balance between upfront costs and the benefits over time. Stainless steel or aluminum mesh options may cost more initially but could save you from frequent replacements due to their durability. Moreover, if you reside in an area prone to wildfires, metal guards offer additional protection by preventing the accumulation of dry leaves in your gutters. Consulting with local hardware experts or conducting brief online research will aid in aligning your selection with home-specific needs, ensuring a wise investment concerning durability and effectiveness.
3. Preparing for Installation: What Should You Do Beforehand?
Preparation is vital for a smooth gutter guard installation process, ensuring everything is in place from the start. Begin by inspecting your gutter for existing damage, such as sagging, leaks, or rust, which needs to be repaired beforehand. It’s also crucial to clean your gutters thoroughly, removing any debris that has built up to allow for a better fit for your gutter guards. This ensures that water flows without obstruction and complements the functionality of the guards once installed. Additionally, analyzing your surrounding environment, like checking overhanging branches, can guide adjustments to prevent future debris accumulation.
Once your gutter system is prepared, measure the lengths of your gutters to calculate the amount of gutter guard material needed, including extra for non-standard fitting or errors. This helps to avoid underestimating needed supplies, preventing last-minute trips to purchase more materials. Documentation for your chosen gutter guard type should be reviewed thoroughly, as each variety has specific guidelines and installation instructions. Knowing these details beforehand avoids second-guessing during the process, potentially reducing installation time significantly. If additional hardware or specific cutting tools are necessary, having them on hand pulls the project through efficiently.
It’s important to check local building codes or homeowner association guidelines that may dictate specific requirements or restrictions concerning gutter alterations. Preparing all necessary safety gear, like helmets, gloves, and safety glasses ensures protection, especially if working at heights or with power tools. Having a buddy to assist can make the task more manageable and significantly reduce the risk of accidents, offering a second set of eyes to catch potential oversights. Prioritizing preparation not only contributes to more successful installation but also minimizes potential mishaps, providing a quicker, cleaner, and more effective outcome.
4. What Are the Steps to DIY Install Gutter Guards?
Embarking on the installation of your gutter guards requires a step-by-step approach for optimal results. Start by positioning your ladder securely and use a buddy system when climbing and moving to ensure utmost safety. Begin at one end of your gutter system by placing a section of your guard over or inside the gutter, depending on the style. For snap-in or lay-over guards, alignment is crucial to avoid any gapping that can let debris through. Carefully secure each segment to the gutter, employing screws, hooks, or clips as prescribed by the guard’s manufacturer.
The work proceeds by meticulously fitting and attaching subsequent sections, ensuring that overlaps are clean and seamless. Should your gutter guards need trimming to adjust for corners or non-standard dimensions, use the appropriate cutting tools to avoid rough edges or creating openings. Maintaining a consistent level across the entire gutter prevents inefficient water drainage and potential damage. This section-by-section method allows you to catch issues in real-time. Once you’ve covered the entire length, verify the integrity of each attachment point, ensuring that everything holds firmly.
Regularly test the newly installed system by running water through the gutters to confirm that it flows unimpeded and without leaks. Adjust any segments, if necessary, considering slight alterations for improved alignment or water entry points. Double-check that all fasteners hold tightly and make final passes to clean debris fallen during installation. Finally, store leftover materials and tools neatly for any future adjustments or replacements. Successful completion of these steps solidifies your commitment to longevity and effectiveness of the drainage system, reinforcing your DIY achievement.
5. How to Maintain Your New Gutter Guards?
Gutter guards, though extremely helpful, do require proactive maintenance to ensure their efficiency and longevity. Periodically check the guards for accumulated debris, especially after heavy winds or storms, which may still collect on the guards’ surfaces. Using a garden hose, you can wash away dirt and particles that settle on top. For mesh guards, occasionally gently tapping them can dislodge stubborn debris, restoring clear water passages. Undertaking these maintenance routines keeps the guards in peak condition, negating any hindrance to their efficacy.
Seasonally inspect for damage or wear, as exposure to harsh weather elements may degrade materials over time. Particularly for regions with freezing temperatures, look out for ice dams that can form, possibly lifting guards from position or warping them. If observed, it’s advisable to adjust or replace affected sections promptly, preventing escalation. Address weak spots by securing loose sections or replacing worn materials with spares from your initial purchase. Staying ahead of these small fixes ensures an enduring and problem-free experience, building on your DIY investment.
Additionally, if your guards form part of a wider maintenance structure for your home, sync their upkeep with regular roof and gutter inspections. This time-saving measure allows simultaneous checks across systems, applying solutions universally rather than per component. Collaborative checkups with nearby neighbors can foster community upkeep efforts, solving issues faster while also sharing knowledge and resources. Investing time in regular maintenance empowers longevity and spares you the cost and hassle of major repairs or replacements, honoring your original installation approach.
Installing gutter guards yourself can be a rewarding project that safeguards your home from potential water damage.